Building a House
Planning & DesignEssential
Plumbing Planning Before Construction
A practical guide to choosing the right pipes, routing lines correctly, and avoiding costly wall-breaking later
11 min read· Last updated 12 Apr 2026
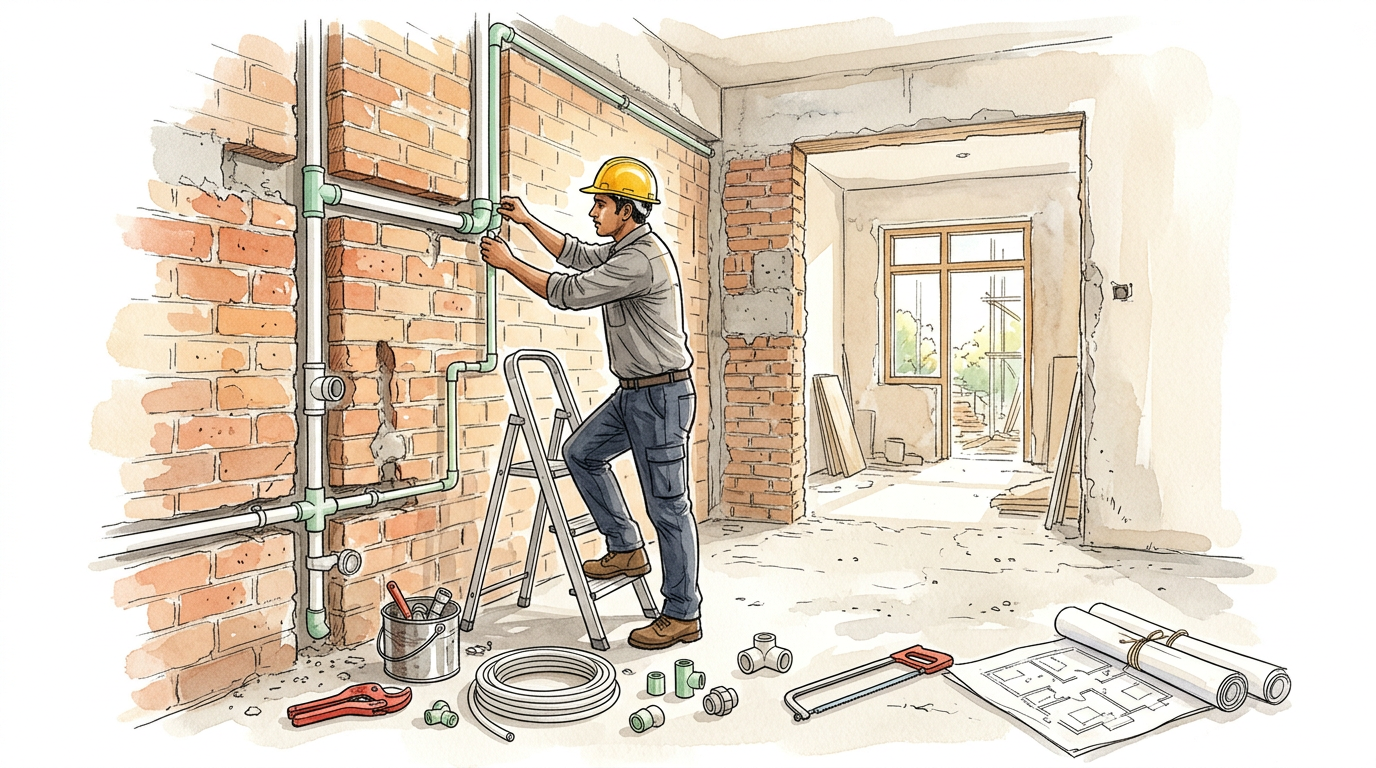
Why Plumbing Must Be Finalized Before Plaster and Flooring
Plumbing is one of the most expensive mistakes to correct after finishing work begins. If a concealed water line leaks after plaster, or a drain pipe is routed badly below the floor, the fix is rarely simple. It usually means cutting tiles, breaking plaster, damaging waterproofing, and spending twice on the same work. That is why plumbing planning should be treated as a core construction decision, not a last-minute service task.
Many first-time home builders focus on room layout, elevation, and flooring choices, but delay plumbing decisions until wall cutting has already started. That creates rushed pipe routes, poor levels, missing water points, and drainage lines that clash with structure or electrical work. In cities where labor and material costs are high, such as Bengaluru, Pune, Gurugram, or Hyderabad, this kind of rework can quickly become expensive.
Before plumbing work starts, lock these four decisions:
- Finalize the kitchen, toilet, utility, washing area, and overhead tank layout.
- Choose the right pipe type for cold water, hot water, and drainage.
- Mark all inlet, outlet, vent, and rainwater routes before cutting walls or floors.
- Test the system fully before plastering, tiling, or closing chases.
Choose the Right Pipe for the Right Job
One common mistake on site is using whatever pipe the plumber asks for without understanding its purpose. A house does not use one pipe type everywhere. Different applications need different materials, and using the wrong pipe can reduce life, create leakage problems, or raise maintenance cost later. At a basic level, water supply lines, waste lines, soil lines, vent pipes, and rainwater pipes should be treated differently.
For Indian homes, PVC pipes are commonly used for waste water, rainwater, and drainage. UPVC pipes are widely used for cold water supply because they are strong, durable, and corrosion-resistant. CPVC pipes are preferred for hot water lines and are also often used for full internal supply systems because they handle temperature better. In some projects, PPR pipes are selected for premium internal plumbing because they work well for both hot and cold water, though installation is slower and usually costs more. GI pipes were common earlier, and are still seen in some government or industrial work, but they are less preferred in modern residential concealed plumbing because of corrosion and repair difficulty over time.
In many North Indian locations, where overhead tank water can become very hot in summer, full internal CPVC plumbing is often a practical choice even for lines that are treated as cold-water lines on paper. This reduces the risk of using a pipe system that performs well only under mild temperature conditions. Whatever system you choose, keep the brand and quality consistent instead of mixing random fittings from multiple low-cost sources.
Separate Water Supply, Waste, Soil, and Rainwater Lines Properly
Good plumbing planning is not only about bringing water into the house. It is also about taking wastewater out without smell, backflow, or maintenance trouble. Toilets, bathrooms, kitchens, washing areas, and rainwater outlets should not be casually connected into one confusing network. A clean system separates fresh water supply from waste discharge, and it also separates kitchen waste from toilet soil flow wherever practical.
This matters because kitchen lines often carry grease, food particles, and detergent, while toilet lines carry solid waste and need more careful routing toward the septic tank or sewer line. If these systems are merged badly, choke points become harder to clear and bad smells can travel into occupied areas. The same applies to vent pipes. Every toilet drainage system needs proper venting so gases can escape safely instead of building pressure or causing smell inside bathrooms.
Rainwater planning should also happen early. Do not depend on a single small downpipe for the whole roof. For most independent homes, provide more than one rainwater drop where needed, especially on larger roofs or terraces with parapet walls. As a practical rule, avoid undersized rainwater pipes. On many sites, 4-inch rainwater downpipes are safer than smaller alternatives, especially in heavy monsoon areas such as Mumbai, Kochi, coastal Karnataka, or parts of Assam and West Bengal.
Plan Every Water Point, Valve, and Plumbing Fixture in Advance
Plumbing planning works best when it is tied to actual room use. In the kitchen, decide the sink position, water purifier point, dishwasher provision if needed, washing machine point if the utility is attached, and any future gas pipeline sleeve before cutting begins. In bathrooms, fix the WC type, shower location, basin height, geyser position, health faucet, and floor drain layout before wall chases are made. Small changes after tile work starts can create a chain of awkward compromises.
Every zone should have isolation control. Provide shut-off valves for the kitchen, each bathroom cluster, washing area, and other major water-use locations. That way, if a tap, flush tank, mixer, or concealed line develops a problem, you can stop water only in that section instead of shutting down the entire house from the overhead tank. This is a simple step, but it makes repairs far easier in occupied homes.
Also think about utility planning that people forget during construction. Keep provision for an RO line, geyser supply and drain, washing machine inlet and outlet, outdoor tap for cleaning, terrace tap, and a proper line from the overhead tank. If the home may later add solar water heating, a second-floor utility area, or a rooftop wash zone, leave sleeves or routes now. These low-cost decisions during construction can prevent ugly exposed piping later.
Get the Execution Right: Levels, Slopes, Chases, and Supports
Even a well-designed plumbing layout can fail if site execution is careless. Wall chases must be straight, controlled, and marked before cutting. If the plumber creates uneven or twisting routes, water pressure can suffer and finishing quality also drops because plasterers struggle to close the wall neatly. This is especially important in toilets, kitchens, and vertical shafts, where multiple lines often run close to one another.
Drainage lines must be laid with proper slope. A useful practical rule for many horizontal waste lines is to maintain a consistent fall so water flows freely toward the chamber without stagnation. On site, builders often explain this as roughly 1 inch drop for every 10 feet of run for typical waste routing, though exact design should match pipe size and project conditions. The key is consistency. Too little slope causes slow drainage and choke risk, while too much slope can leave solids behind in some cases.
Use sweeping bends and practical fittings instead of forcing sharp turns in drain lines. Bathroom floor drainage, sink outlets, and vent routing should be planned with maintenance in mind. External vent pipes and exposed rooftop sections should be supported properly so wind movement does not loosen joints over time. Underground chambers should also be protected during construction because open chambers and unfinished lines often fill with construction debris, curing water, and site waste before the house is even completed.
Use Quality Materials and Document the Layout for Future Work
Concealed plumbing is not the place to save small amounts of money on low-grade materials. Pipes, fittings, traps, valves, and connectors hidden inside floors and walls should be from reliable brands and suitable for the application. If a cheap fitting fails after handover, the repair cost is often far higher than the money saved during construction. This is especially true in premium finish homes where breaking a bathroom wall or kitchen dado tile causes visible damage even after repair.
Pay attention to traps and smell control as well. Basins and sinks should use proper traps so foul smell does not travel back from the drainage system. Bathrooms should use the right floor trap and drain arrangement instead of flat, poorly directed connections that cause stagnation or smell. Tightening fittings too aggressively is also a mistake. Over-tightened fixtures and valves can crack, especially with lower-grade accessories.
Once the concealed plumbing is complete, create a record before the walls are closed. Take clear photos of every wall, floor, and shaft showing the pipe routes. If possible, keep a simple plumbing drawing with dimensions and directions. This record helps later when drilling, adding cabinets, changing electrical points, or troubleshooting a damp patch. It is a small effort that saves time for years.
Before you approve the plumbing work, use this checklist:
- Cold water, hot water, waste water, soil, vent, and rainwater lines are planned separately
- Pipe types are selected correctly for each use, with no wrong material in hot-water zones
- Kitchen, toilet, and utility drainage routes are coordinated and do not clash
- Shut-off valves are provided for key areas, not just one main control
- Drain pipes have proper slope and accessible chamber planning
- Rainwater pipes are adequately sized and distributed across the roof
- The full system is tested before plaster, flooring, and tiling
- Photos or a marked drawing of concealed plumbing routes are saved
If even two or three of these points are still unclear, pause the work and resolve them before finishing starts. On Indian residential sites, the cost of delay at the planning stage is usually much lower than the cost of rework after tiles and fixtures are installed.