Building a House
Construction StagesEssential
Staircase Construction Guide
Plan step size, landing layout, and reinforcement correctly so your house staircase feels comfortable and stays strong.
11 min read· Last updated 12 Apr 2026
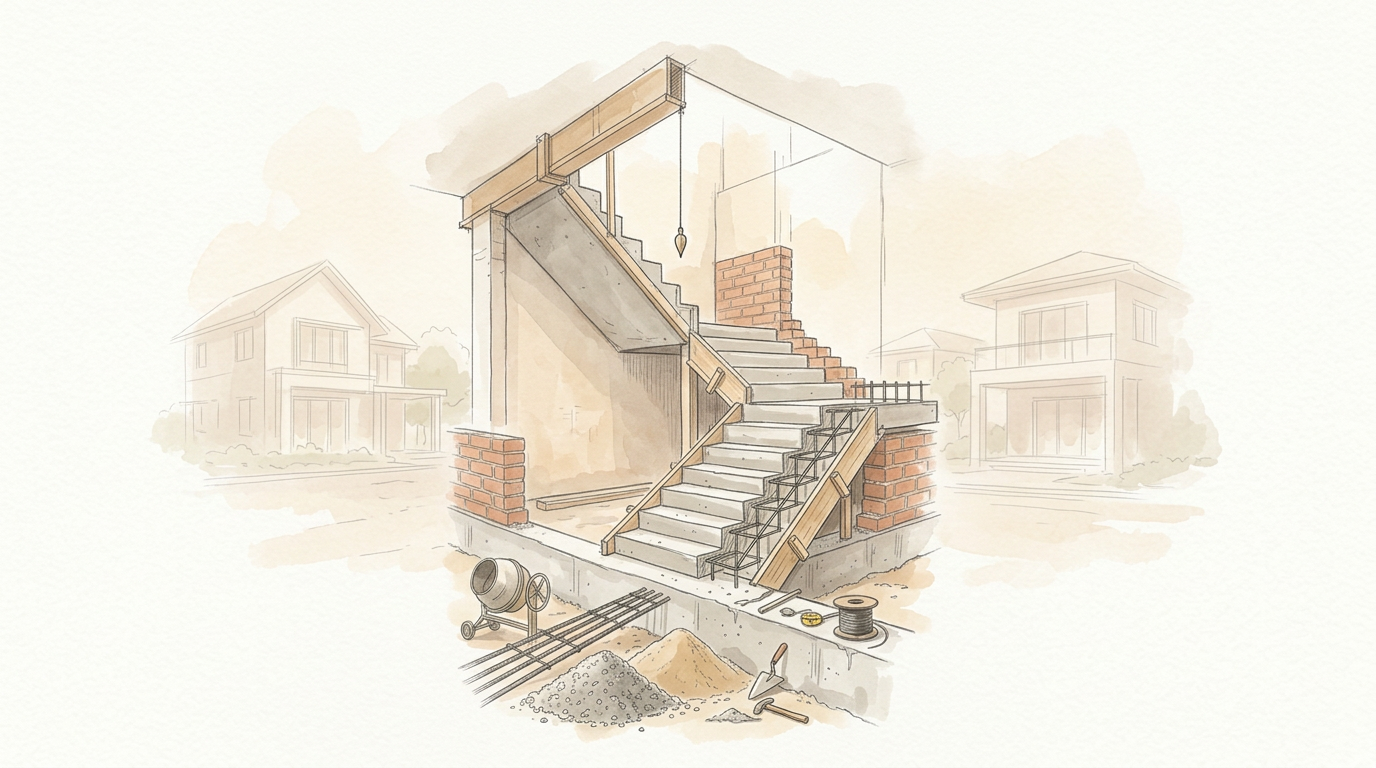
Why Staircase Planning Matters in House Construction
In a G+1 or G+2 house, the staircase is one of the most used structural elements after the slab. If the step size is wrong, the problem is felt every day by children, elderly family members, tenants, and anyone carrying material between floors. Unlike paint or tiles, a badly planned staircase is expensive to correct after casting.
This is why staircase planning should begin before shuttering starts, not during site improvisation. In plotted houses across Delhi NCR, Lucknow, Jaipur, Indore, and Hyderabad, staircase mistakes usually happen when floor-to-floor height, landing position, and stair width are assumed instead of measured. A staircase must work with the structural drawing, room layout, and future use of the house.
For an RCC staircase, comfort and strength come from two separate decisions. Geometry controls how easy the stair is to climb. Reinforcement, anchorage, shuttering, and concreting control whether the staircase remains crack-free and durable for years.
- Fix the staircase layout before brickwork and shuttering lock the space.
- Measure actual floor-to-floor height instead of using rounded site assumptions.
- Treat the staircase as a structural member, not just a finishing item.
- Plan for daily use, furniture movement, and future upper floors.
- Check both dimensions and reinforcement before concrete is poured.
Staircase Terms and Standard Residential Dimensions
Three terms must be clear before any staircase calculation starts. The riser is the vertical rise of one step. The tread is the horizontal walking surface where the foot rests. The flight is the continuous run of steps between two landings. These are simple terms, but most site confusion starts when riser count and tread count are mixed up.
For many Indian residential staircases, a practical working range is a riser of about 6 to 7 inches and a tread of about 9 to 10 inches. A width of around 3 feet is common in compact plotted homes, while the stair angle is typically kept within a workable 30 to 45 degree range. In real houses, it is usually better to stay toward the more comfortable side of that range rather than making the staircase too steep just to save area.
These dimensions directly affect daily usability. A higher riser makes climbing tiring. A smaller tread makes descent unsafe. A narrow width creates trouble during furniture shifting and two-way movement. In homes that may later be rented out or extended, these issues become even more noticeable.
- Use riser height to control comfort while climbing.
- Use tread depth to improve footing and descent safety.
- Use width to judge whether the staircase will feel cramped in daily use.
- Use landings to break long climbs and manage direction changes.
- Use stair angle only after riser and tread are already balanced.
Tip:
How to Calculate Steps for 10-Foot and 11-Foot Floor Heights
Start with total floor-to-floor height. If the finished height from one floor to the next is 10 feet, the total rise is 120 inches. If you select a 6-inch riser, 120 divided by 6 gives 20 risers. That means the staircase needs 20 rises to reach the next floor level. If the same height is divided by a different riser, the total step count changes immediately, which is why guessing on site creates uneven stairs.
Now calculate treads carefully. In a basic stair, total treads are usually one less than total risers because the top floor level acts as the final surface. So 20 risers generally mean 19 treads. If you introduce a mid-landing in a dog-legged staircase, the risers are split across two flights, but the total vertical rise stays the same. The landing changes circulation and footprint, not the total height you must climb.
For an 11-foot floor height, the same logic applies. Eleven feet equals 132 inches. If the stair is planned around a 6-inch riser, the count comes close to 22 risers. That is why a landing becomes useful in many independent houses. It breaks the climb, fits the staircase into a compact core, and gives better movement comfort in homes built in phases.
- Convert floor height to inches before calculating anything.
- Divide total height by the selected riser to estimate riser count.
- Adjust the final riser only if all steps can remain equal.
- Assume tread count is usually one less than riser count.
- Split the staircase into two flights if a mid-landing is required.
How to Plan Width, Landing, and Flight Layout
In many Indian homes, a 3-foot staircase width is used because plot sizes are tight and every square foot matters. That can work for a standard family house, but only if the staircase is not overly steep and the landing is planned properly. If the house will have elderly residents, rental use, or repeated material movement to upper floors, a slightly more generous arrangement is worth discussing with the engineer early.
A mid-landing is especially helpful when floor height is 10 feet or more and the staircase needs to turn within a limited rectangular space. It breaks the climb into two manageable flights, improves comfort, and gives better control over movement direction. In duplex houses or narrow side-stair cores in Bengaluru, Pune, and Ahmedabad, this layout is often more practical than forcing a long straight stair.
The flight angle should never be fixed in isolation. It is the result of riser and tread choices, not a decorative preference. If the staircase feels too steep, the answer is usually not better tiles or a stronger railing. The answer is correcting the step geometry before the staircase is cast.
- Keep staircase width aligned with actual family use, not just minimum fit.
- Add a mid-landing when height or turning requirement makes it necessary.
- Avoid using high risers to recover layout mistakes on small plots.
- Check that both flights feel balanced when the stair changes direction.
- Confirm headroom and landing level before reinforcement starts.
Warning:
Typical RCC Staircase Reinforcement Details for a House Stair
Once dimensions are final, the staircase must be reinforced like a proper RCC member. In a typical residential stair, common site practice for the main reinforcement is often around 12 mm bars at 6 inches center-to-center. These bars usually run along the sloping span of the staircase and continue into support zones with proper anchorage. A frequently discussed thumb rule for anchorage is about 45 times the bar diameter. For a 12 mm bar, that works out to roughly 540 mm embedment, subject to the structural design.
The same staircase may also use top support bars and extra bars near landing and support areas. On many residential sites, workers speak of giving extra reinforcement roughly around 1 foot at one end and 2 feet at another support zone, depending on how the stair and landing are connected. Distribution steel is also important. A common site arrangement is 10 mm bars at 8 inches center-to-center, while in some lighter cases 8 mm bars at 6 inches center-to-center may be discussed. These values are practical references, not a substitute for the engineer’s drawing.
For wider or heavier-use staircases, such as commercial entries or stair widths above roughly 2 meters, reinforcement may increase beyond the typical residential arrangement. That is why no contractor should blindly repeat one steel pattern on every staircase. The reinforcement must match the span, support condition, waist slab thickness, landing behavior, and load expectation.
- Use the structural drawing as the final authority for steel placement.
- Treat 12 mm main bars at 6 inches c/c as a common house-scale reference, not a universal rule.
- Check anchorage length carefully where bars enter slab or landing supports.
- Provide distribution steel so the staircase works as a proper reinforced slab.
- Increase caution when staircase width, span, or loading goes beyond a normal house condition.
Shuttering, Casting, and Site Checks Before Concreting
Even correct reinforcement can fail in execution if shuttering is poor. Stair shuttering must hold the waist slab line, each step profile, the landing edge, and the underside alignment without movement during concreting. If the shuttering is loose, the tread depth changes, step edges become rough, and the finished staircase needs unnecessary repair before tile or stone work.
Before pouring concrete, check whether the main bars are placed in the correct direction, the cover blocks are adequate, and the reinforcement actually extends into the support zone as intended. The landing and staircase must work together structurally, especially where the flight connects to a slab or beam. In many house projects, the visible step shape gets attention but the hidden steel and cover get ignored. That is exactly where long-term cracking begins.
Concrete should be poured only after the engineer, site supervisor, or experienced structural contractor signs off on dimensions and steel. This matters even more in houses under municipal approval in cities such as Noida, Gurugram, Surat, or Nagpur, where structural deviations during construction can become difficult to correct later.
- Floor-to-floor height checked from finished structural level
- Total risers and treads locked before shuttering
- Mid-landing level confirmed on drawing and site
- Main reinforcement diameter and spacing checked
- Distribution bars and anchorage length verified
- Cover blocks and support bars inspected before concreting
- Step profile, soffit line, and landing shuttering rechecked
Common Staircase Mistakes and When to Involve the Engineer
The most common mistake is starting with a rough site estimate like “around 10 feet” and then marking steps directly in brickwork or shuttering. That usually creates an odd last step, a wrong landing level, or unequal risers between flights. Another frequent mistake is using very small tread depth or very high risers to save space on compact urban plots. That may work on paper, but it creates a staircase that feels tiring from the first day of use.
The second major mistake is weak reinforcement practice. Many residential sites still use 6 mm or 8 mm steel carelessly in places where the staircase should be built more robustly. A staircase is used every day and should not be under-reinforced just because it looks smaller than a slab. If the contractor changes bar diameter, spacing, anchorage, or distribution steel without approval, the homeowner should intervene immediately.
Ask the engineer for review whenever floor height changes, the staircase location shifts, the landing support changes, or the house may later go for vertical expansion. The rules of thumb in this guide help you ask better questions, but the final design must still match the structural system of your specific house.
- Do not finalize steps before actual structural height is measured.
- Do not allow uneven risers between lower and upper flights.
- Do not reduce bar size casually to save steel cost.
- Do not cast the staircase until support and anchorage are fully understood.
- Do not rely on rule-of-thumb reinforcement for unusual spans or wider stairs.