Building a House
Construction StagesEssential
Final Inspection Before Moving In
Check every room, fitting, finish, and utility point before handover so your new home is truly ready to occupy.
10 min read· Last updated 12 Apr 2026
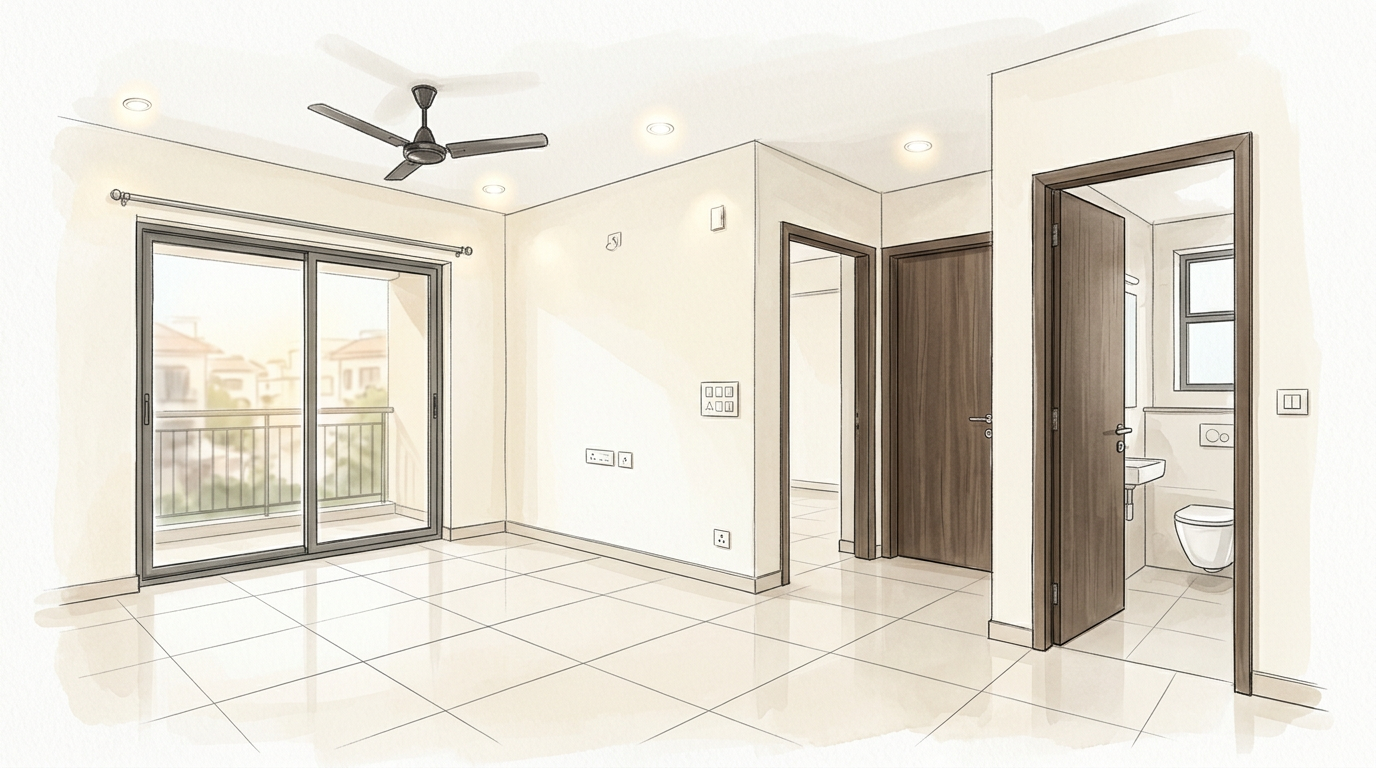
Why Final Inspection Matters Before House Handover
Final inspection before moving in is the stage where a newly built house is checked room by room before handover. At this point, the structure may already look complete, but a finished appearance is not the same as true readiness. Small issues often remain in doors, windows, switches, plumbing fixtures, paint touch-ups, tile joints, hardware, or final cleaning. If these are missed before possession, the owner usually ends up chasing the contractor later.
In Indian self-construction projects, this stage is especially important because the final weeks usually involve multiple teams working at once. Electricians may still be fitting cover plates, painters may be doing touch-ups, sanitary workers may be fixing taps, and carpenters may still be adjusting shutters or locks. Because of this overlap, many homes in Lucknow, Hyderabad, Jaipur, and Patna appear “almost ready” but are not yet ready for daily living. A proper final inspection helps separate visual completion from functional completion.
For homeowners, the goal is simple: do not inspect casually from the entrance or only by appearance. Walk every room, switch on every point, open every panel, run water through every fitting, and treat the final inspection as the last quality-control stage before shifting furniture.
- Final inspection confirms whether the house is truly ready for occupancy, not just visually finished.
- It helps catch incomplete work before final payment or contractor handover.
- It is the best time to identify missing hardware, faulty fittings, and cosmetic defects.
- It prevents post-move repair work from disturbing your family after shifting.
- It should be done room by room, not by general observation.
Start With Doors, Windows, Locks, and Basic Hardware
The first inspection layer should be all physical opening elements in the house. This includes main door shutters, bedroom doors, bathroom doors, balcony doors, windows, handles, latches, tower bolts, hinges, stoppers, mesh shutters, and locking systems. A door may look polished from outside and still scrape the floor, fail to latch smoothly, or swell slightly during humid weather. That is why every door should be opened and closed fully several times during inspection.
Windows need the same attention. Check whether the shutters move freely, whether the handles and locking points hold properly, and whether the frame alignment is even. In aluminium, UPVC, or wooden windows, poor alignment becomes obvious only when you test the full movement. In cities with monsoon humidity such as Kolkata, Bhubaneswar, Chennai, and parts of Kerala, even a minor clearance issue can become more noticeable after occupancy.
This is also the stage to verify exposed hardware quality. Door stoppers should hold the panel cleanly, latches should not wobble, and bathroom privacy locks should work smoothly. If wardrobes, loft shutters, or internal storage cabinets are part of the project scope, they should also be tested. Handover should never happen while any basic opening system is still “to be adjusted later.”
- Open and close every door and window fully during inspection.
- Check latch movement, lock function, handle fixing, and hinge smoothness.
- Look for rubbing, misalignment, gaps, or swelling signs in shutters.
- Test bathroom and balcony doors with extra attention because they face moisture exposure.
- Include storage shutters, cabinet hardware, and built-in woodwork in the same inspection round.
Warning:
Test All Electrical Points Before You Move In
Electrical checking should be practical and comprehensive. Turn on every light point, tube light, wall light, fan point, exhaust point, door bell, and external light one by one. Then test every switch board and regulator physically instead of assuming the circuit is fine because one nearby light worked. In many new houses, a single missed connection, loose plate, reversed switch, or weak regulator is discovered only after the family moves in, which creates unnecessary rework at the most inconvenient time.
Fans and regulators need special checking because visual completion does not confirm performance. If the fan is running, observe whether speed control is smooth, whether there is unusual vibration, and whether the switch plate is firmly fixed. Also verify utility provisions such as inverter points, AC points, geyser points, refrigerator sockets, washing machine sockets, TV points, and spare future points if they were included in the plan. These are frequently left half-finished in the final days.
This stage matters even more if the project includes multiple bathrooms, outdoor lighting, or terrace service points. In rapidly growing localities around Noida, Pune, Indore, and Ahmedabad, owners often discover after handover that one balcony light, one exhaust point, or one kitchen socket was never tested. A full electrical inspection should therefore be active, not visual.
- Switch on and test every light, fan, exhaust, and bell point individually.
- Check regulators, switch boards, and socket fixing instead of testing only the appliance.
- Verify heavy-load points such as geyser, AC, fridge, and washing machine sockets.
- Test outdoor, balcony, passage, and staircase lights separately.
- Confirm inverter, backup, and future spare points if they were part of the original plan.
Tip:
Check Plumbing Fixtures, Water Supply, and Bathroom Readiness
Once electricals are checked, inspect the plumbing side thoroughly. Run water at basin taps, kitchen taps, shower points, health faucets, and utility points. Observe whether the water flow is consistent, whether any threaded joint leaks, and whether the fitting feels stable. Bathrooms should be inspected both visually and functionally. The wash basin, shower mixer, overhead shower, bib taps, floor drain covers, flush system, commode fixing, and bucket tap point should all be checked before the house is called ready.
Kitchens need special attention because they combine plumbing, electrical, tiling, and daily-use hardware in one compact zone. Check sink alignment, trap leakage, water outlet position, counter finishing, and any RO or appliance point included in the plan. If the kitchen has exhaust, ventilation, or chimney provision, verify that these service points are properly positioned and finished. A kitchen may appear complete in photos while still having one loose tap connection or one missing board plate.
Bathroom inspection should also include doors, threshold, slope, and fitting stability. Flush more than once, open shower and tap points together if pressure allows, and look at the floor to confirm water moves toward the drain instead of collecting in corners. In homes across Bhopal, Surat, Bengaluru outskirts, and Tier-2 townships, final complaints after occupancy often begin with one leaking angle valve, one slow floor trap, or one loose commode fixing.
- Run water through all bathroom, kitchen, and utility fittings during final inspection.
- Check tap joints, flush operation, basin stability, and trap leakage.
- Confirm bathroom slope and drain flow instead of relying on visual finish.
- Inspect geyser and hot-water points where they were planned.
- Treat the kitchen as a full service zone, not only as a finished countertop.
Inspect Paint, Tiles, and Finishing Quality Room by Room
Paint and tile inspection should be done slowly because cosmetic defects are easier to miss than functional ones. Check wall paint under natural light and artificial light where possible. Look for uneven shade, roller marks, missed patches, corner damage, touch-up blotches, drips near skirting, and paint stains on fittings. If wood polish or enamel paint is part of the project, inspect those surfaces separately because finish quality often varies between rooms depending on when the work was completed.
Tiles also require close checking, especially in bathrooms, kitchen dado areas, balcony floors, and skirting lines. Look for chipped corners, hollow sound, broken edges, leftover white cement haze, uneven grout filling, or mismatched replacement tiles. During the last days of construction, a single tile may get cracked during fixture fitting and then left behind assuming nobody will notice. Final inspection is exactly the stage to catch such issues and ask for correction before possession.
The same discipline should extend to skirting, sealant, edge trims, and transition zones between rooms. In many homes in Chennai, Nagpur, Ranchi, and Delhi NCR, final finishing looks good from a distance but shows multiple small misses near corners, switch plates, window reveals, and sanitary cut-outs. These details matter because once furniture comes in, it becomes harder to get neat rework done without dust and disruption.
- Check paint finish in every room, including ceilings, corners, and around switch boards.
- Look for shade variation, patchy touch-up, drips, and unfinished edges.
- Inspect bathroom, kitchen, and balcony tiles for cracks, chips, and grout quality.
- Remove or report leftover white cement, adhesive marks, or paint stains.
- Verify skirting, edge trims, and cut-out finishing before approving the handover.
Use a Room-by-Room Handover Checklist
A room-by-room method is the safest way to complete final inspection before moving in. Start from the main entrance, then inspect living room, dining, bedrooms, bathrooms, kitchen, utility, balcony, staircase, terrace, and external zones one after another. Do not jump randomly between areas. A structured inspection reduces the chance of forgetting one plug point, one latch, one bulb holder, or one plumbing item. It also makes contractor follow-up easier because you can report problems by room.
The final checklist should cover both function and finish. In many Indian self-built homes, owners remember to check the wall color but forget the door stopper, or they test the fan but not the bell, or they inspect the basin but not the floor drain. A checklist creates discipline and makes handover discussions objective.
Use this final possession checklist before you move in:
- Every room light, fan, socket, and switch board has been tested.
- Main door, room doors, windows, locks, latches, and stoppers work smoothly.
- Bathroom and kitchen plumbing fittings run without leakage.
- Flush systems, floor drains, wash basins, and shower points are functional.
- Paint, polish, tile, skirting, and corner finishing are complete.
- Balcony, utility, and external light or tap points are checked.
- Any pending rectification items are listed clearly before final handover.
- Inspect the entire house in one logical sequence instead of random spot checks.
- Write down each issue by room and by trade so rectification is easier.
- Recheck corrected items instead of assuming the team fixed them properly.
- Keep final payment linked to completion of agreed pending points where applicable.
- Do not shift furniture or perform puja until essential service points are confirmed working.
Finish With Deep Cleaning and Occupancy Readiness
The last stage of final inspection is cleaning and readiness for use. Even after all works are complete, construction dust, grout residue, paint marks, adhesive spots, packaging waste, and hardware stickers usually remain. A home is not truly handover-ready until it is cleaned properly. Floors should be washed, tiles wiped, sanitaryware cleaned, windows cleared, and all leftover debris removed from cupboards, lofts, balconies, service shafts, and corners.
This final cleaning stage is also where you confirm that nothing is still pending in practical use terms. Check whether the house feels ready to live in, not just ready to photograph. Can the family open the main door smoothly, use the bathroom without leakage, switch on all essential lights, run kitchen water supply, and occupy rooms without immediate repair work? That is the real test of final inspection before moving in.
Across self-built projects in Jaipur, Patna, Hyderabad, and suburban Mumbai, the smoothest move-ins happen when the owner insists on a handover that is both technically complete and visibly clean. If even one percent of the finishing work is still pending, it tends to stay pending after possession. That is why the final cleaning and readiness review should be treated as part of the construction process.
- Get the house deep-cleaned before calling handover complete.
- Remove dust, grout haze, packaging waste, and leftover material from all rooms.
- Clean sanitaryware, windows, countertops, and floor corners properly.
- Confirm that the home is functionally ready for daily use, not just visually neat.
- Complete all rectification before shifting belongings or scheduling housewarming.