Building a House
Construction StagesEssential
Final Finishing & Touch-Up Checklist
Close out flooring, tiling, putty, paint, and small correction work in the right order so your new home looks complete and stays easy to maintain.
11 min read· Last updated 12 Apr 2026
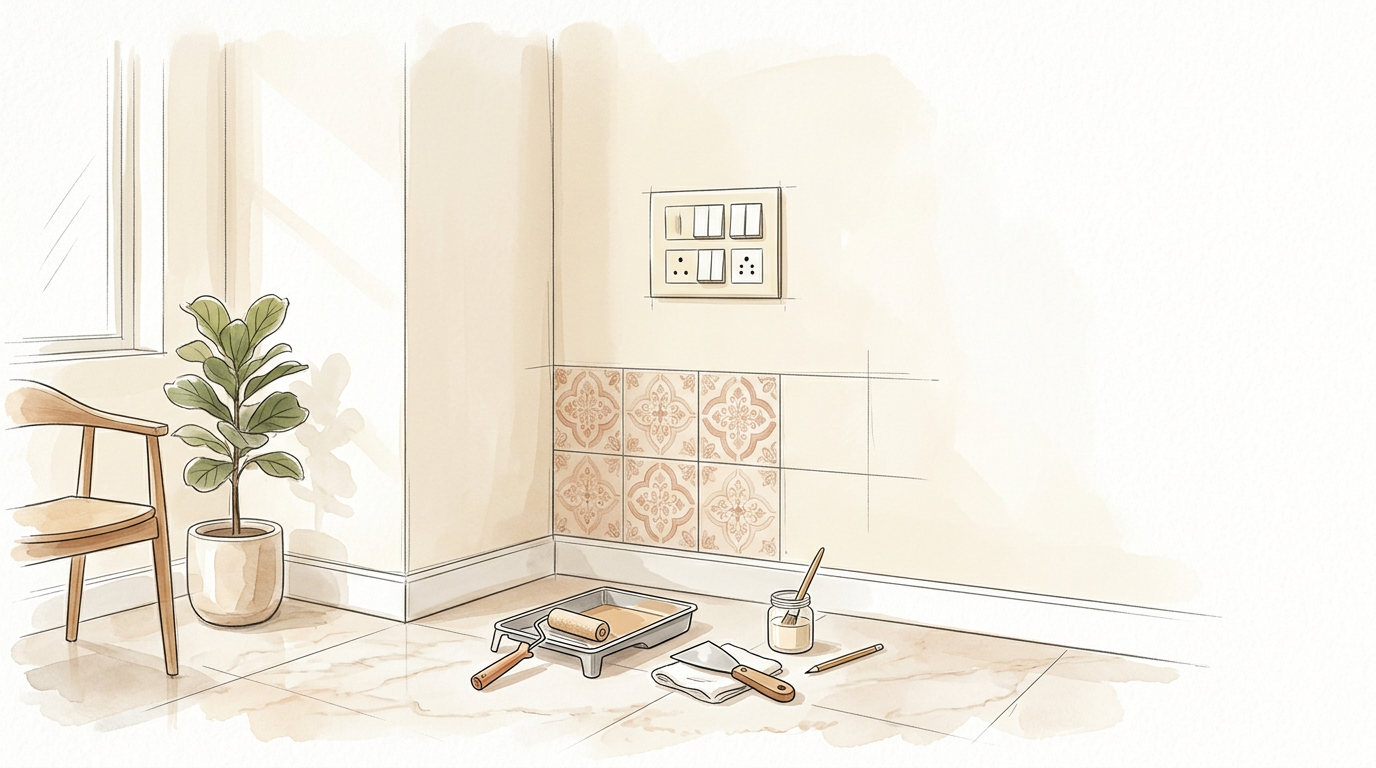
What Final Finishing Includes Before a House Feels Complete
Final finishing is the stage where a house stops looking like an active site and starts looking ready for handover. In Indian home construction, this stage usually includes floor base preparation, floor tiles, wall tiles in wet areas, wall putty, primer, paint, joint filling, small crack correction, switch-board gap filling, and final cleaning of tiles, doors, and windows. If the sequence is wrong, even expensive material can look poorly finished.
This stage matters more than many owners expect because most visible defects appear here. Hollow-sounding tiles, uneven paint edges, unfilled board gaps, stain marks on new flooring, or cracks left untreated before painting can all reduce the final look of the home. In self-built houses across Noida, Lucknow, Jaipur, Pune, and Hyderabad, the biggest finishing losses usually come from rushing small correction work, not from lack of budget alone.
A good finishing sequence should follow this logic:
- Prepare and level the floor base properly before any tile work starts.
- Complete wet-area wall tiles and floor tiles with alignment, slope, and joint checks.
- Apply putty only after plaster is cured and all basic pipe, frame, and box work is ready.
- Finish primer and paint after surface smoothing and tile protection are in place.
- Close all leftover gaps, joints, stains, and cleaning issues before handover.
Prepare the Floor Base Properly Before Floor Tiles
Floor finishing starts below the tile, not above it. On the ground floor, the filled area should be compacted properly after plumbing lines are checked and any loose debris is removed. Many sites first complete sand or soil filling, leave space for the final floor build-up, and then choose either brick ballast with PCC or direct PCC with stone aggregate depending on budget, material availability, and expected floor performance. If this base is weak, tiles may later sound hollow or develop uneven settlement.
Where brick ballast is used, broken red brick pieces are spread over the compacted fill, compacted again, and then covered with PCC. Where direct PCC is used, a stone-based layer is laid and compacted to form a stronger floor bed. Residential sites often use practical ratios such as 1:3:6 for PCC over brick ballast and 1:4:8 for leaner base concrete with larger stone, but the site engineer or contractor should always confirm the exact mix and thickness for the project. In wet areas like bathrooms, balconies, and utility zones, slope planning must be built into the base itself, not adjusted casually later.
Before the floor base is approved, check these essentials:
- All plumbing lines below the floor are completed and tested before filling starts.
- Fill material is compacted properly, especially if ordinary soil has been used.
- Floor base leaves enough height for mortar, tile thickness, and final finish level.
- Bathroom, balcony, and kitchen wet zones already account for drainage slope.
- The final PCC or plastered base is level enough that tile thickness is not misused to hide unevenness.
Check Floor and Wall Tile Installation Like a Site Supervisor
Floor tiles and wall tiles need different checks, but both depend on cleanliness, level, and consistent joint lines. Before floor tile laying, the surface should be cleaned, level points should be marked, and mortar should be mixed in the right consistency. Many local teams use a cement-sand bedding mix such as 1:6, then place a cement slurry over it before fixing tiles. The key checks are that tiles sit evenly, corners match, no tile is higher than the next, and no hollow sound appears under walking load.
Wall tiles need even more control in bathrooms, kitchens, wash basin zones, and washing-machine areas. Wet-area walls should be waterproofed first, then plastered true to line and plumb, and tile fixing should begin while the plastered backing is still suitable for bonding. A common method is to prepare a cement-rich paste and apply a controlled layer behind each tile before pressing it into line. The visual pattern must also be checked tile by tile, especially where printed tile sets form one continuous design.
Use this combined tile checklist during execution:
- The base or backing surface is clean and not dusty.
- Level marks are fixed before laying starts.
- Wet areas have proper slope toward drain points.
- Floor tiles sound solid, not hollow, after fixing.
- Wall tiles are aligned both horizontally and vertically.
- Patterned tiles are checked in the right sequence before fixing.
- Joints are later filled with white cement or matching grout.
- In bathrooms and balconies, always test whether water moves naturally toward the drain.
- In kitchens, check that sink-side wall tiles and countertop heights line up neatly.
- At tile edges and skirting, make sure leftover plaster or side gaps are not ignored.
- Around drains, corners, and fixture pipes, small cuts should be neat and intentional.
- After fixing, curing and joint filling should not be skipped just because the tile surface looks finished.
Apply Wall Putty Only After the Surface Is Truly Ready
Wall putty should never be treated as a shortcut for bad plaster. The plaster must already be reasonably level, dry, and cured before putty begins. In practical site work, that usually means waiting around 10-14 days after plaster, depending on weather and moisture condition. If putty is applied over damp, uncured, or dirty plaster, the final paint surface may show unevenness, peeling, or hidden cracks. Door frames, window frames, electrical boxes, and plumbing points should also be fixed before putty starts, otherwise later chasing will damage the finish.
Surface preparation is as important as the putty itself. Loose mortar particles, grease, oil, dust, and splashes from other works should be removed first. Visible wall cracks should be repaired before putty; they do not disappear just because a white surface coat is added. Putty material should also be checked for manufacturing and expiry date, mixed as per the bag instructions, and prepared only in quantities that can be used quickly. Many site teams work within a roughly two-hour usable window for the mixed batch.
The application process should stay disciplined:
- Repair cracks and remove loose spots before mixing putty.
- Mix only fresh material and follow the manufacturer’s water ratio.
- Apply the first coat thinly, then allow it to dry before sanding.
- Apply the second coat only after the first has been smoothed properly.
- Keep total putty thickness controlled instead of building a thick layer to hide defects.
Workers should also be protected during sanding. Nose masks, gloves, and eye protection are not optional on dusty interiors. On compact sites in cities like Patna, Bhopal, Ranchi, and Indore, putty sanding is often done in rooms with limited ventilation, so supervision at this stage matters for both finish quality and worker safety.
Follow a Clean Paint Sequence Instead of Jumping Straight to Color
Painting gives the house its finished look, but good paint work depends on everything done before it. After putty has dried and the wall is sanded smooth, the surface should be cleaned again and any missed patches should be corrected first. Primer is then applied to stabilize the surface, reduce uneven absorption, and help the final paint coat look more uniform. Skipping primer or using it carelessly often leads to patchy tone, visible roller marks, and weak coverage.
Before buying paint, the family should finalize the colour plan and not leave the decision entirely to the dealer. In many Indian homes, a practical approach is to keep the ceiling in a lighter tone, use one common shade on three walls, and reserve one wall as a subtle accent if desired. Paint quantity should be estimated based on wall and ceiling area rather than random guesswork. Too little paint causes shade mismatch during refill; too much often becomes waste.
The execution side also needs control:
- Cover tiles, fixtures, and stored materials with sheet, tarp, or protective film before painting starts.
- Use brush work for corners and detailed edges, then even out large areas with a roller.
- Pay attention to window edges, ventilators, chajjas, and door surrounds where paint is often left incomplete.
- Let one coat settle properly before the next coat is applied.
- Clean rollers, brushes, and containers daily so dried material does not spoil the next coat.
In finished houses, paint defects usually stand out most near corners, around switch plates, and at the meeting line of ceiling and wall colour. Those small transitions should be checked closely, especially if the rest of the room has already been cleaned and brightened.
Close the Small Gaps and Corrections That Make the Difference
Many houses reach 95 percent completion and still do not look complete because small correction points are left open. This includes side filling above wall tiles, white-cement or grout filling in floor and wall joints, patching around electrical boards, correcting hairline wall cracks, and touching up paint where later fitting work caused marks. These are not cosmetic extras. They are the finishing details that make the house look deliberate instead of unfinished.
Tile joints can usually be filled with white cement or a matching coloured grout, especially where blue, grey, beige, or patterned tiles would look awkward with plain white lines. Around switch boards and electrical boxes, plaster of Paris is often preferred for small gap filling because it sets neatly and is less prone to edge breakage than casual putty packing. If there are RCC cracks, slab cracks, or recurring seepage marks, do not hide them with paint alone. Those need proper technical correction first, and in structural cases the engineer should be consulted.
This is also the right time for house cleaning:
- Remove cement haze, paint drops, and dust from tiles before they harden permanently.
- Clean doors, windows, frames, grills, and glass after painting is complete.
- Check whether tile side cuts and skirting edges still need plaster or sealant correction.
- Inspect all board edges, fixture penetrations, and plumbing outlets for visible gaps.
- Revisit each room in daylight because many finishing defects are only obvious then.
Use a Final Touch-Up Walkthrough Before Calling the House Ready
The safest way to close a finishing job is to do a room-by-room walkthrough after all major works are complete. Start with the living room, then bedrooms, then kitchen, bathrooms, balcony, utility, staircase, and entrance areas. Look at each room once for flooring, once for wall finish, once for paint, and once for fittings. If you mix all checks together, smaller defects are easy to miss. This final walkthrough is especially useful in owner-managed homes where multiple trades have entered the same room at different times.
In practical terms, this is the stage where the owner should stop thinking like a builder and start thinking like the person who will use the home every day. Stand at the entrance of each room, check the lines visually, then walk through it slowly. Press suspect tiles, inspect paint edges, look above tile bands, around switch boards, under windows, and at the corners of door frames. Most corrections are cheap at this stage and expensive after move-in, especially once furniture, wardrobes, or appliances are installed.
A final walkthrough should confirm:
- Floor finish is level, clean, and free from hollow or loose tiles.
- Wet areas have correct slope and fully sealed joints.
- Putty and paint surfaces look smooth in natural light.
- No visible board gaps, crack lines, or unfinished edge patching remain.
- Doors, windows, and tile surfaces are cleaned well enough for handover.